Home renovations have surged since the pandemic. People have paid more attention to their homes since they have been cooped up for months. With people focusing on what their houses need, home renovations have become part of the new normal.
People can be quite perfectionists, especially when it comes to their own homes. And as perfectionists, we don’t like rough textures and uneven edges on our walls, especially if we want it to feel like home.
When you decide to do your own home and bathroom renovations and repairs, and maybe even build a new home from the ground up, there is a lot of work and many decisions to be made. It’s hard on your body and your wallet, so it’s more than just a quick fix or paint job.
But some people want everything done perfectly, and we can’t blame them. They want every inch of it to feel like home. Even if you don’t have the budget for a home renovation, you can still do it on your own with the right guide.
Table of Contents
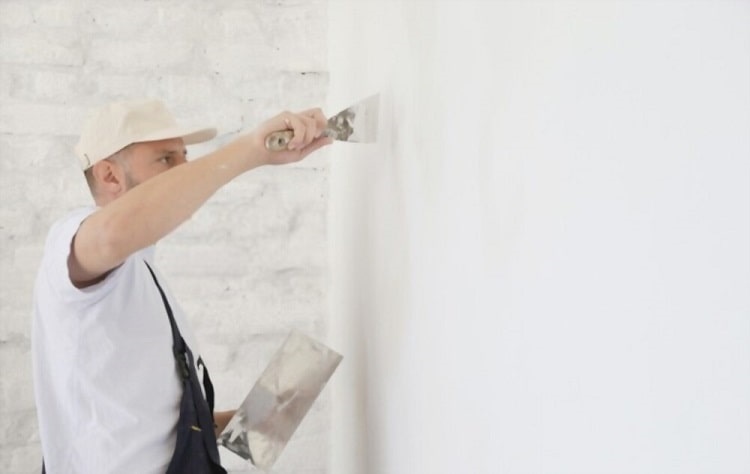
An Imperfect Wall
The texture of a wall is one of those architectural details that you may overlook unless you’re in the mood to be over the top. It’s there to decorate your space, even if it’s subtle enough to go unnoticed by most.
But be careful; a home renovation comes with risks. If you have an old or renovated home, there might be deadly fibers hiding in your walls, like asbestos. When you damage residential constructions filled with it, it becomes airborne, and asbestos exposure can occur.
Air contaminants and toxic waste are detrimental to your health, which is why mold and asbestos testing services are necessary. Improperly removing asbestos can leave you at risk of exposure to toxins. If you hire environmental testing services, you can minimize your exposure while setting your mind at ease.
Skim coating is a finish coat that, when done right, can cover up old textures and give you a professional-looking wall in a few hours. It is a low-cost and easy solution for achieving a smooth wall texture without putting holes or dents in your walls.
This is an essential step in decorating and can often differentiate between a beautiful and a stitched-together room. And it will result in a cleaner, smoother finish, especially if you are more concerned with appearances.
The Process of Skim Coating
The skim coating process is relatively simple—it just takes a bit of time and can be a little messy! It also gets easier the more you try it. If you want to save money, you can always just hire a professional to do it for you. Depending on how much space you have to cover, a pro might charge several thousand dollars.
However, if you do it yourself, you can cut the cost down to a couple hundred dollars. Here is a list of the basic supplies you’ll need.
- Plastic drop cloth
- Painter’s tape
- Gloves
- Plastic covers
- Joint compound
- Paint tray
- Paint roller cover
- Putty knife
- Trowel
- Spray bottle
- Sanding pad
- Microfiber cloth
- Drill
- Drill mixing attachment
To achieve smooth walls, you have to make sure your walls are clean and prepped. Start by cleaning the surface with a special cleaner. The next step is applying a primer to protect the newly painted walls from additional damage as soon as possible. Make sure the entire wall is clean and primed before applying your first coat of paint. A good, level surface will provide the best finish.
It’s a good idea to put down some plastic floor coverings to protect your flooring from the primer and skim coat. Also, you should tape off around the ceiling so that none of it gets attached to it.
Along with prepping the wall, you’ll need to prepare the joint compound you’ll use to skim coat. Often, when you buy compound for skim coating, it can be too thick to apply. Mixing some water into it will thin the compound. Use a drill and a mixing attachment to set the compound.
Mixing the joint compound with your electric drill is easy. As a shortcut, many people like to separate the joint compound into two buckets to make mixing easier on their hands and arms. Remember that the number of joint compounds depends on how many walls you need to skim coat.
Now that your wall and joint compound are prepared, it’s time to skim coat.
1. Apply a thick coating of joint compound
Use a roller and roller cover to apply a thick layer of joint compound to the wall. We recommend rolling no more than 18 inches of the compound on the wall. Make sure you deal with minor sections of the wall at a time. Before you begin your project, keep in mind that if you repair a wall larger than 4 ft by 4 ft, the joint compound may dry while working on it. Brush on a reasonably thick, even coat of plaster onto the wall. Don’t worry if it’s not perfect; you’ll have a second opportunity to get it right.
2. Smooth down the area with a trowel
Here’s what you do: smooth the area with the trowel after you apply the patch. This may need many passes to get a homogeneous (lighter or darker) coating on the wall.
3. Repeat the first and second steps
Repeat the steps once or twice more until perfect consistency is obtained. If your paint starts to dry, use water and a spray bottle to keep it wet. Using a sanding pad gives small areas of the finished laminate surface a smoother finish than the trowel can achieve. When you finish, wipe down the wall with a damp microfiber cloth to remove all dirt or dust particles.
If your walls look a little raggedy after years of abuse, it is a good idea to skim coat them for a fresh-looking surface. Although it may take some time to get used to it, skim coating isn’t that difficult. With good planning, you can avoid causing damage to the space and save a lot of money by doing it yourself.
Meta title: Skim Coating: What You Need for a Perfectly Smooth Wall
meta desc: Walls become rough over time, but you can minimize this problem with regular maintenance and texturing techniques like skim coating. Here is a guide to making your rough walls smooth again.